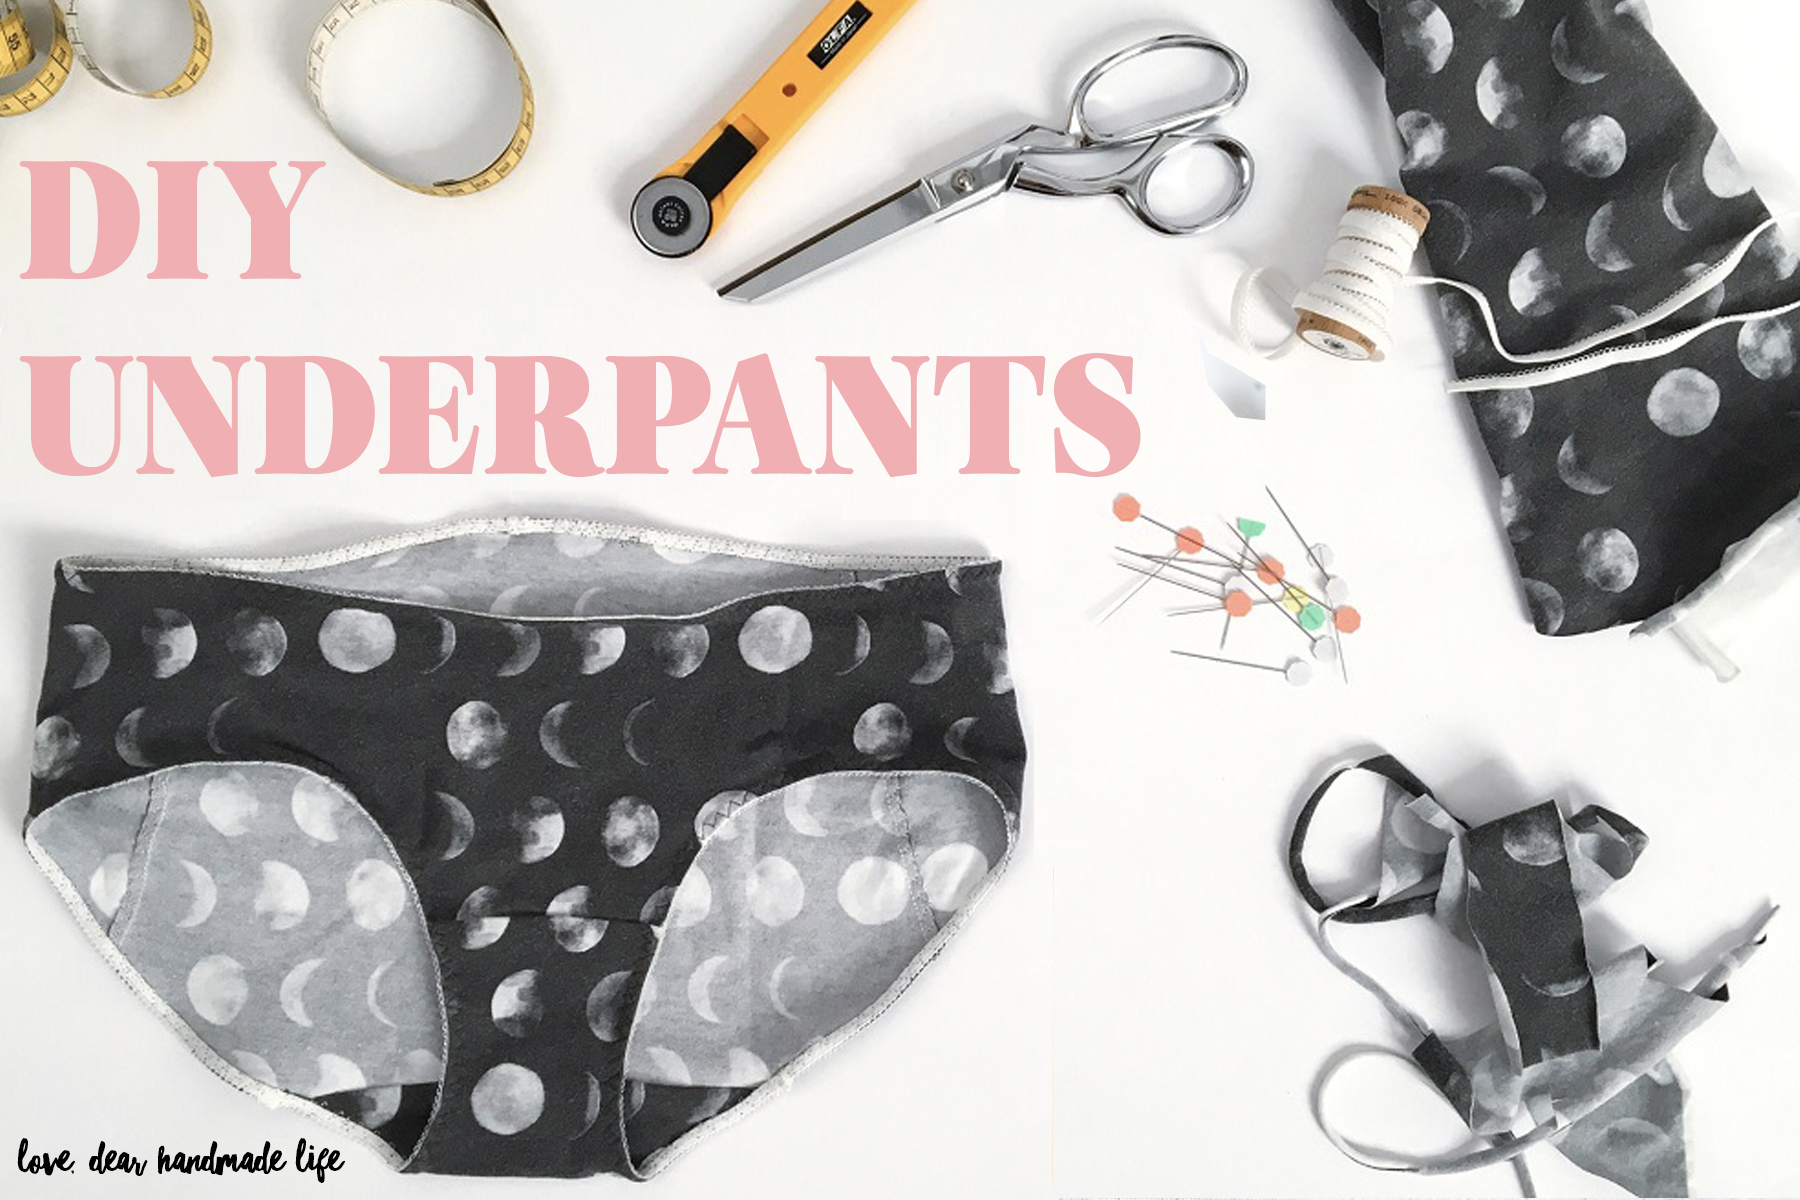
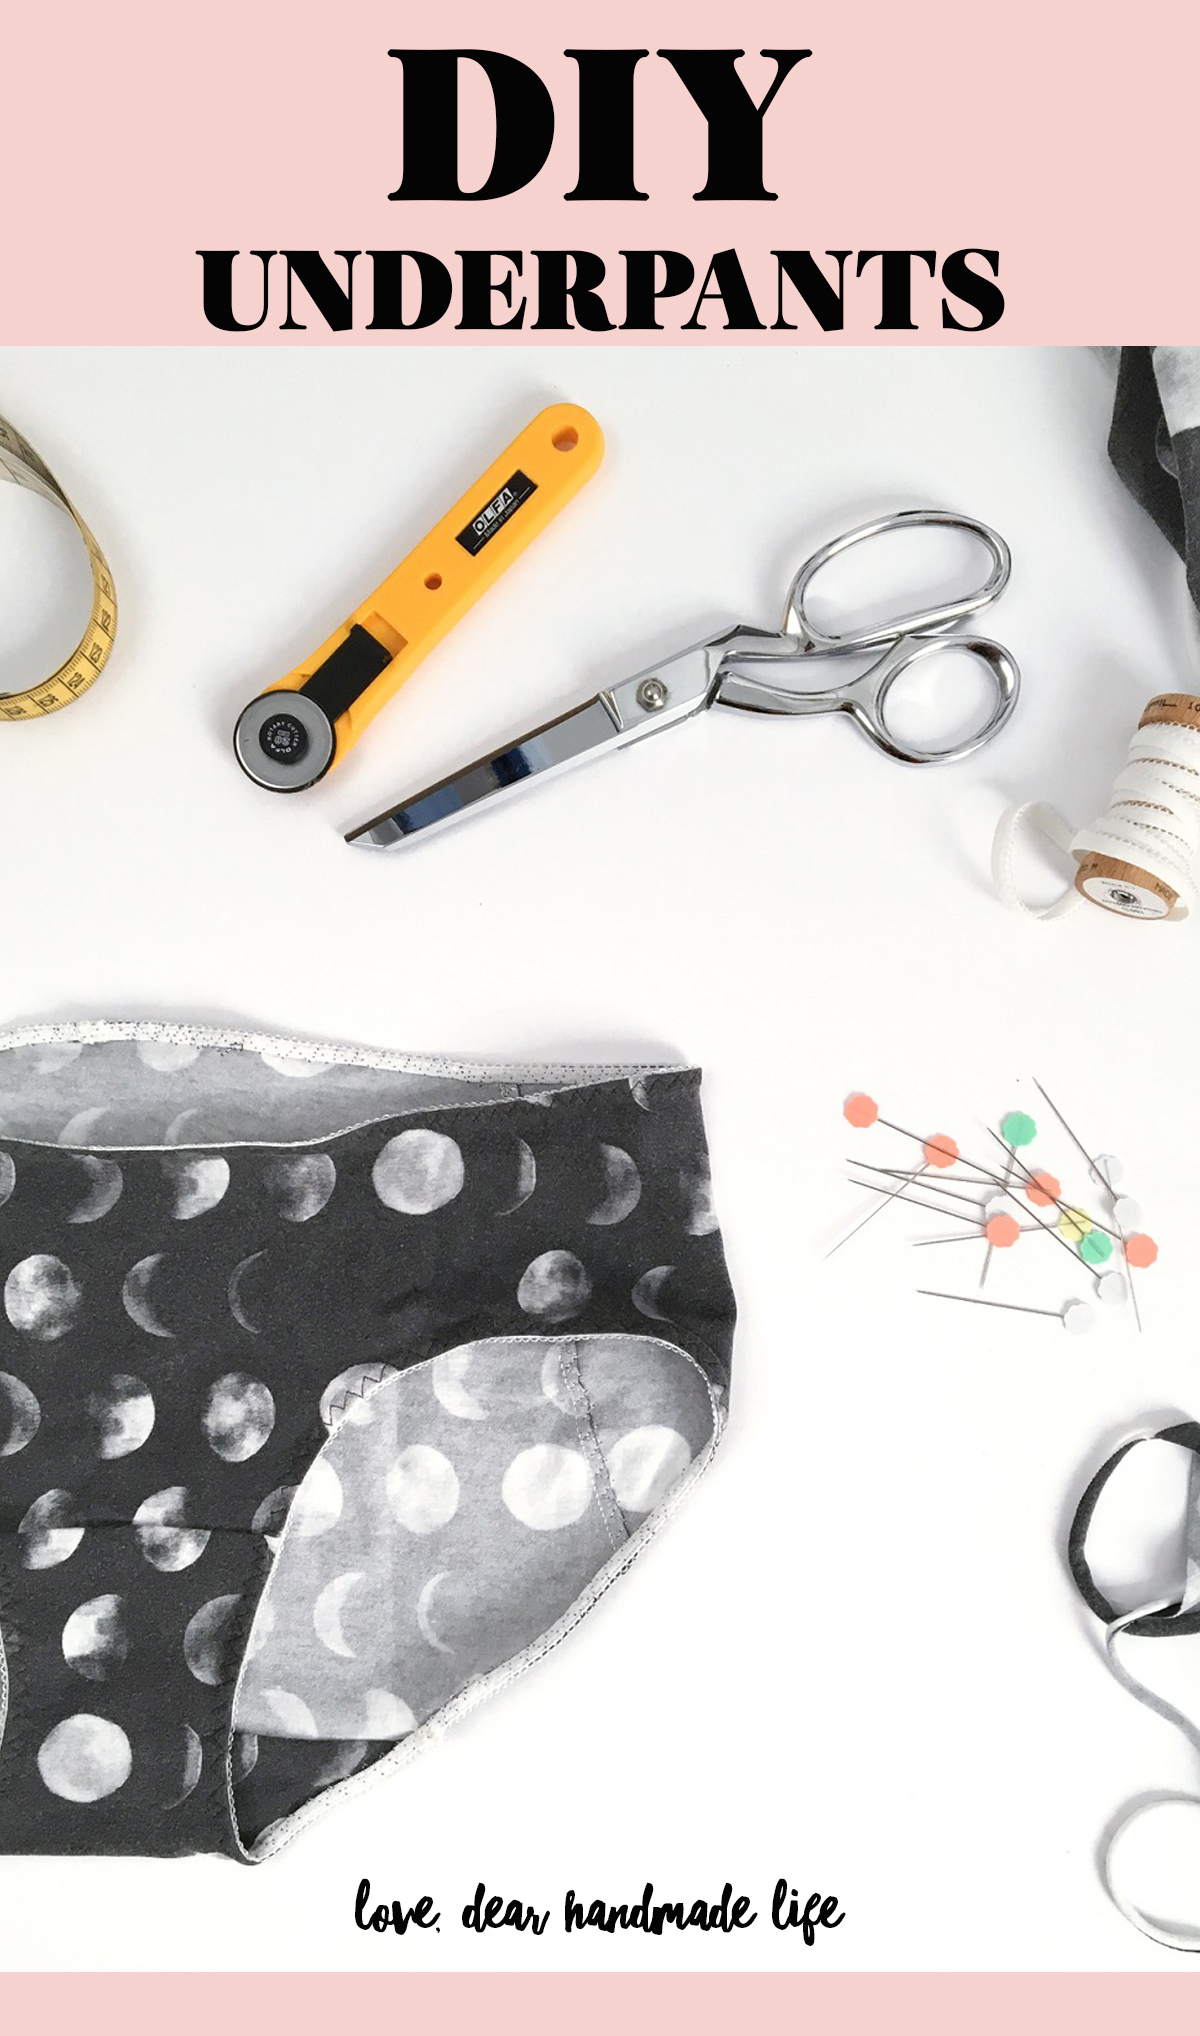
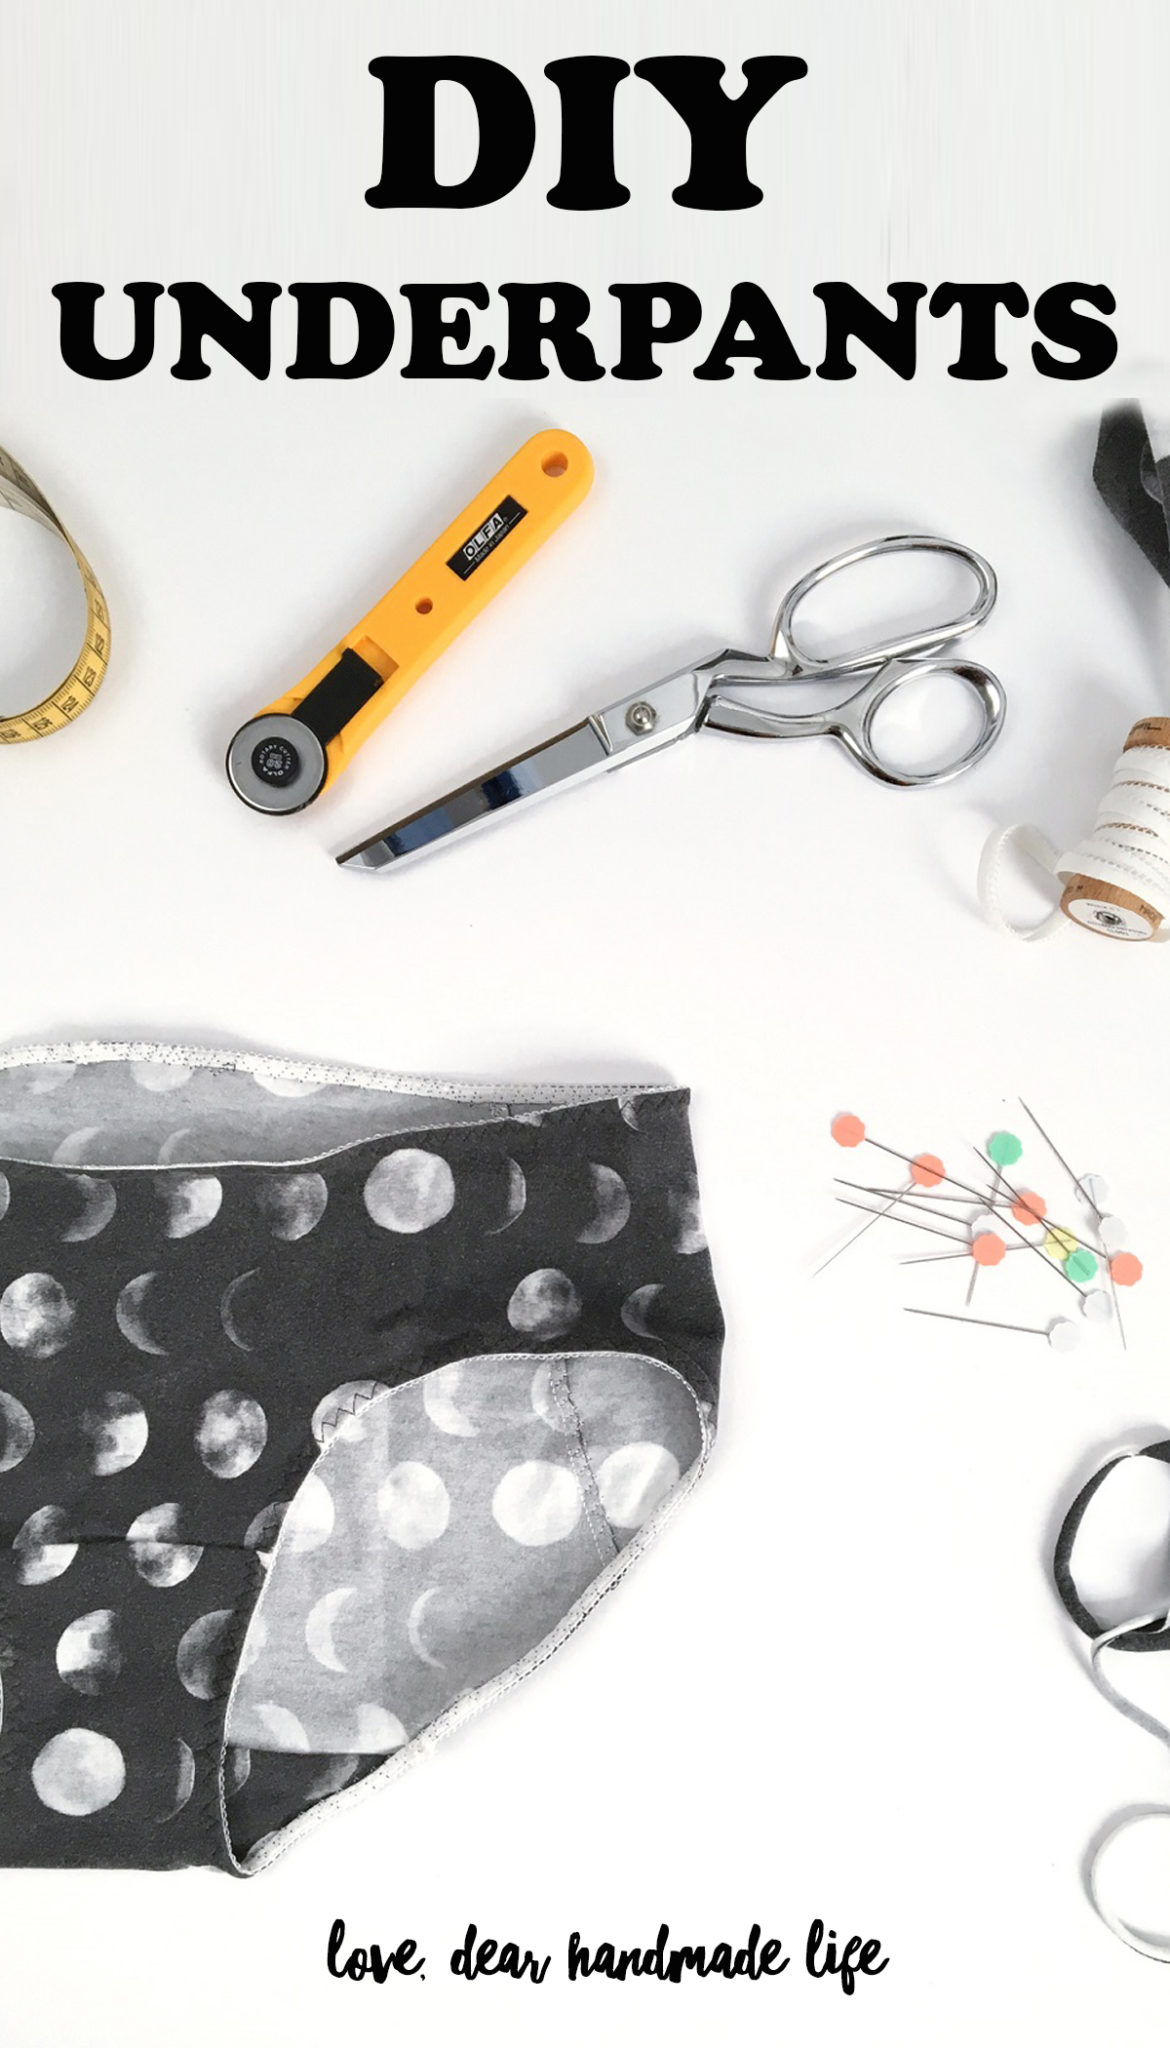
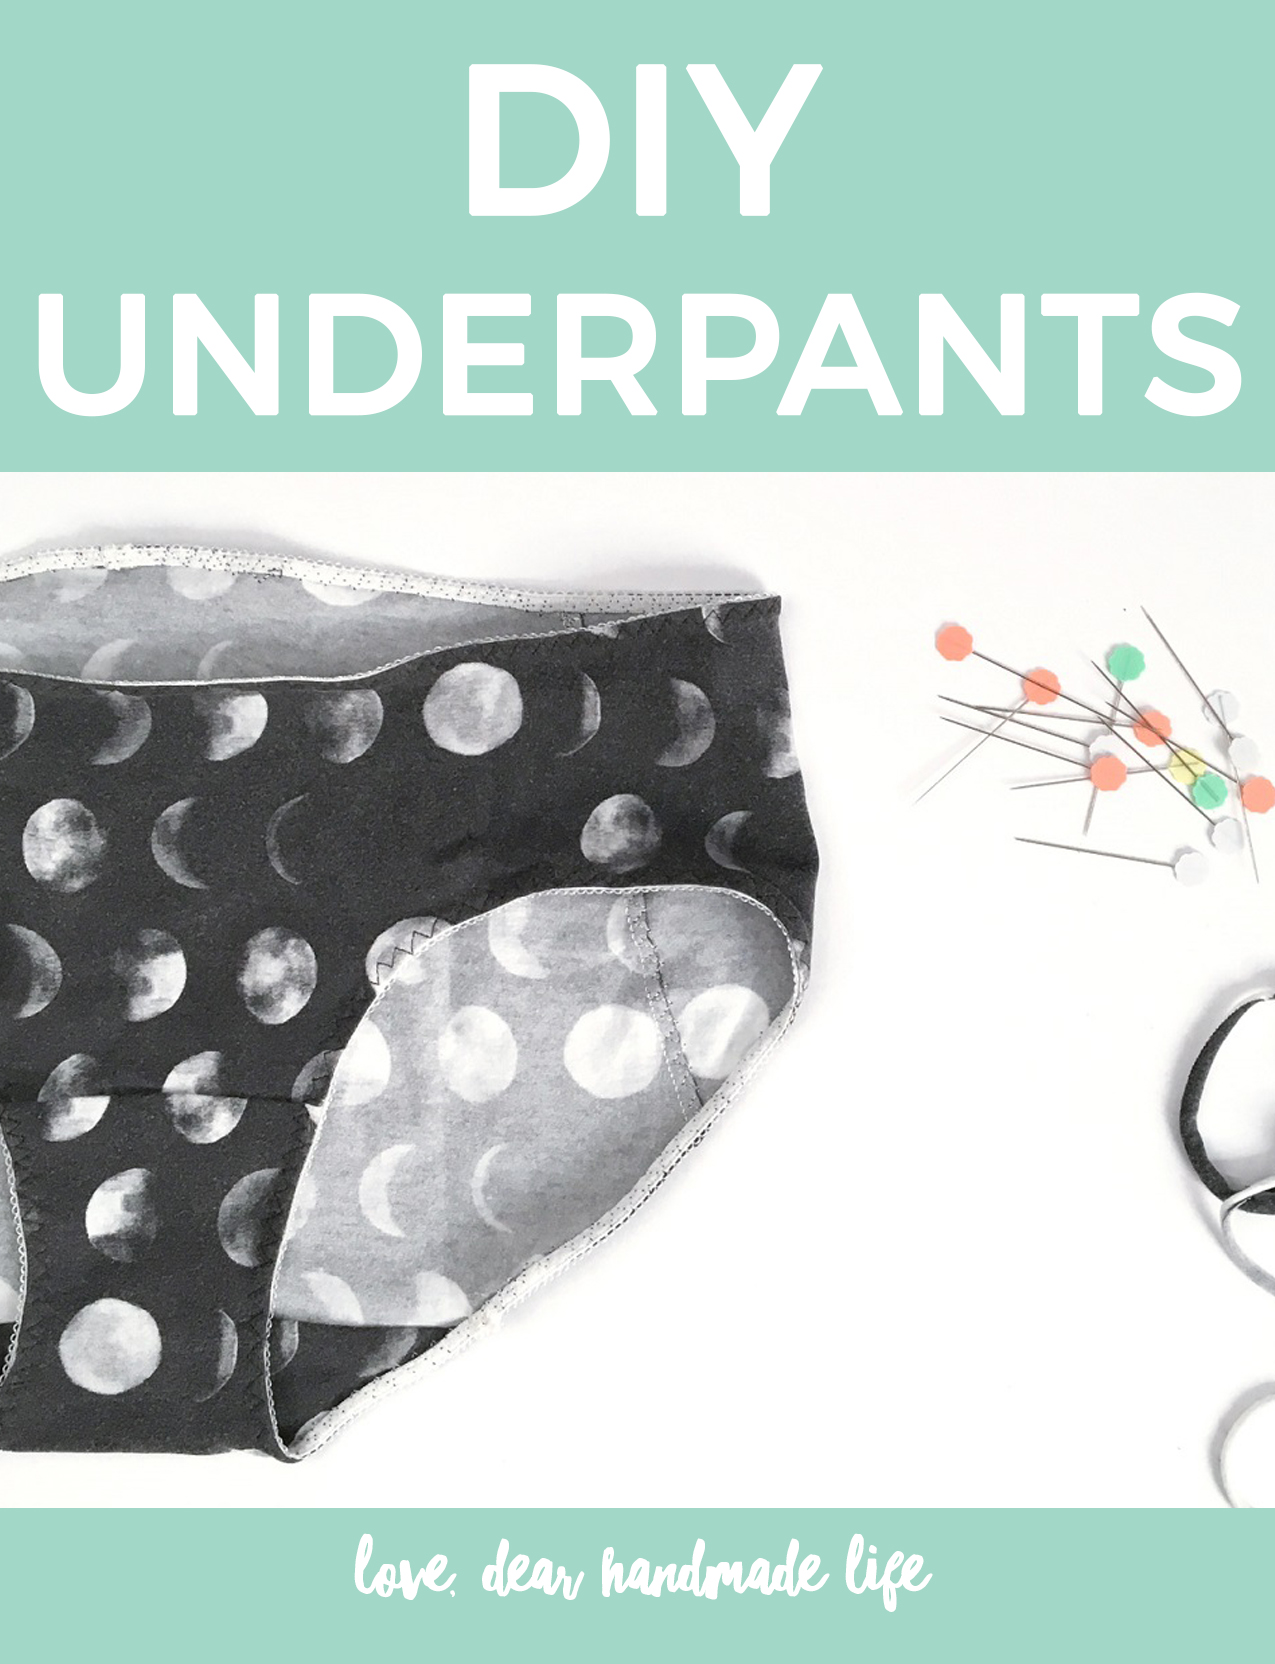
How to Make Old Panties Cute Again
Editor'south Notation: Meghann Halfmoon of Halfmoon Atelier taught a workshop at our last Craftcation: Concern & Makers Briefing based on the tutorial and her pattern beneath. She taught three sold out sessions of her underpants workshop and attendees vicious hard for this elementary and useful sewing project. Our friends atSpoonflower sponsored the textile for the workshops and students got to choose or even design their own patterns for their fabric to create truly custom underpants! Meghann was sweet plenty to share this project on the blog so you tin get started sewing your own one-of-a-kind underpants! Ane of my favorite parts about this design, is the size inclusivity – It was drafted for a full hip measurement between 333/4" – 67″ making information technology one of the most size inclusive underpants pattern bachelor on the market! Thanks Meghann! -Nicole S.
past Meghann Halfmoon
Sewing underpants is ofttimes seen as a "scary" affair to do. Just it'due south much easier than it appears and is crazy satisfying! Information technology's likewise a fabled way to use upward scraps of stretch jersey cloth, or to repurpose your sometime favorite t-shirt whose armpits are – permit'due south confront it – across the point of no return.
In this tutorial, I've used Cotton Spandex Jersey from Spoonflower. I at present have a total five pairs using this textile in combination with my super basic UNDERPANTS blueprint, and it really is true love.
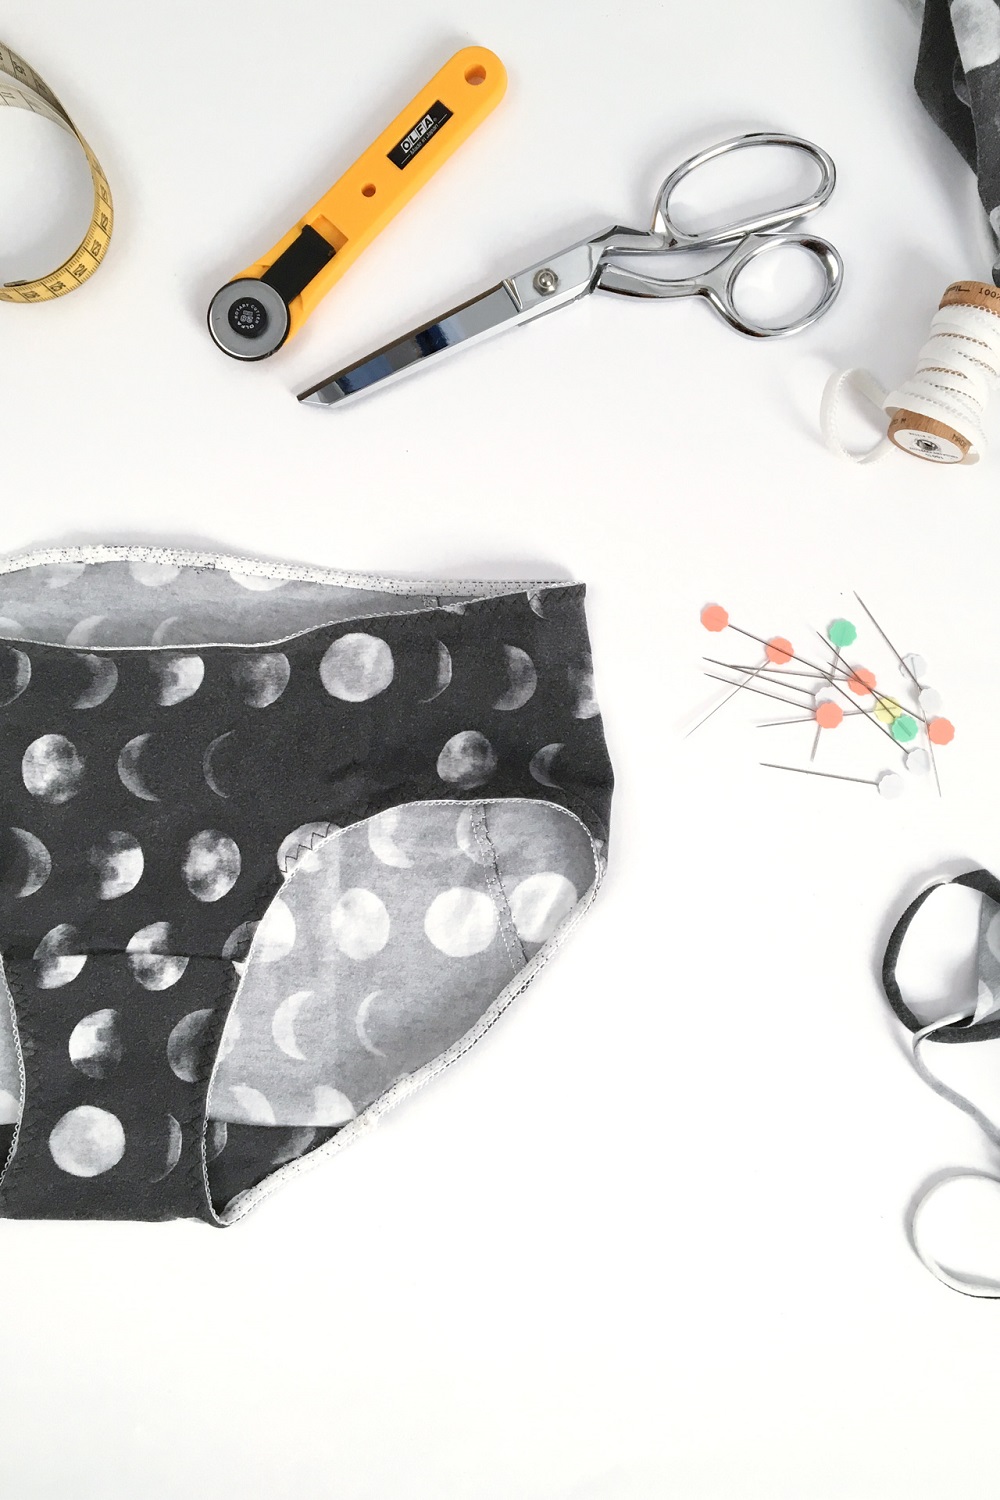
WHAT TO Get:
- Approx. ½ 1000 of cotton fiber stretch jersey fabric
- 2 to 3 yards of elastic (exact amount depends on your measurements) Earlier you lot buy your elastic, cheque out this postal service I wrote about choosing the perfect elastic for your handmade underwear.
- Analogous thread
- Underpants pattern, or prepare-to-wear underpants to copy
If you are copying fix-to-wear underpants, don't forget to add about 1cm (3/8") around all the edges to account for seam allowance.
WHAT TO Do:
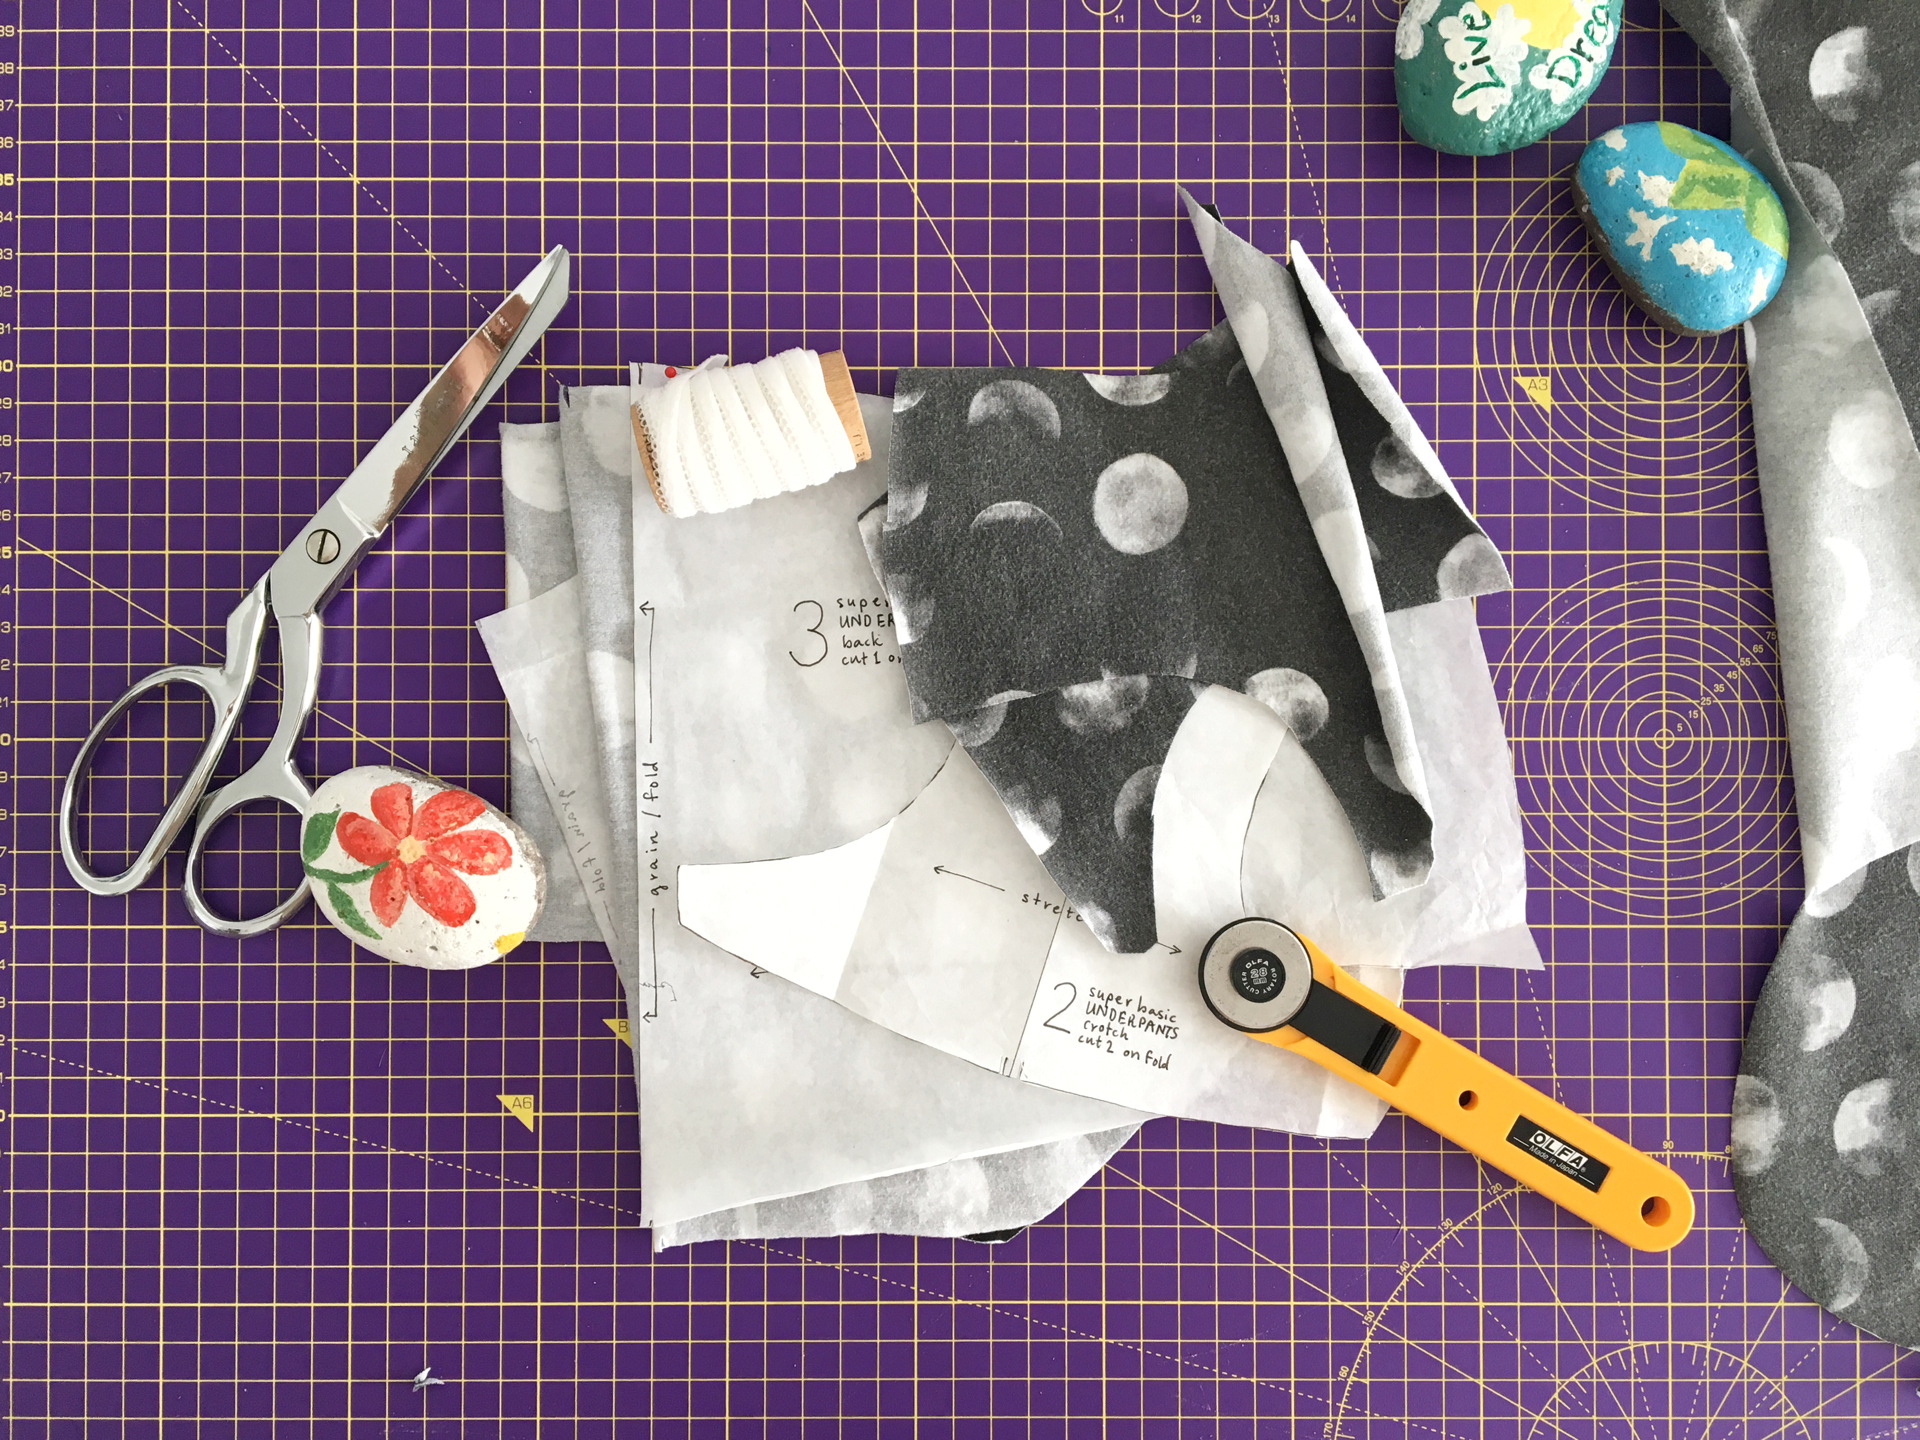
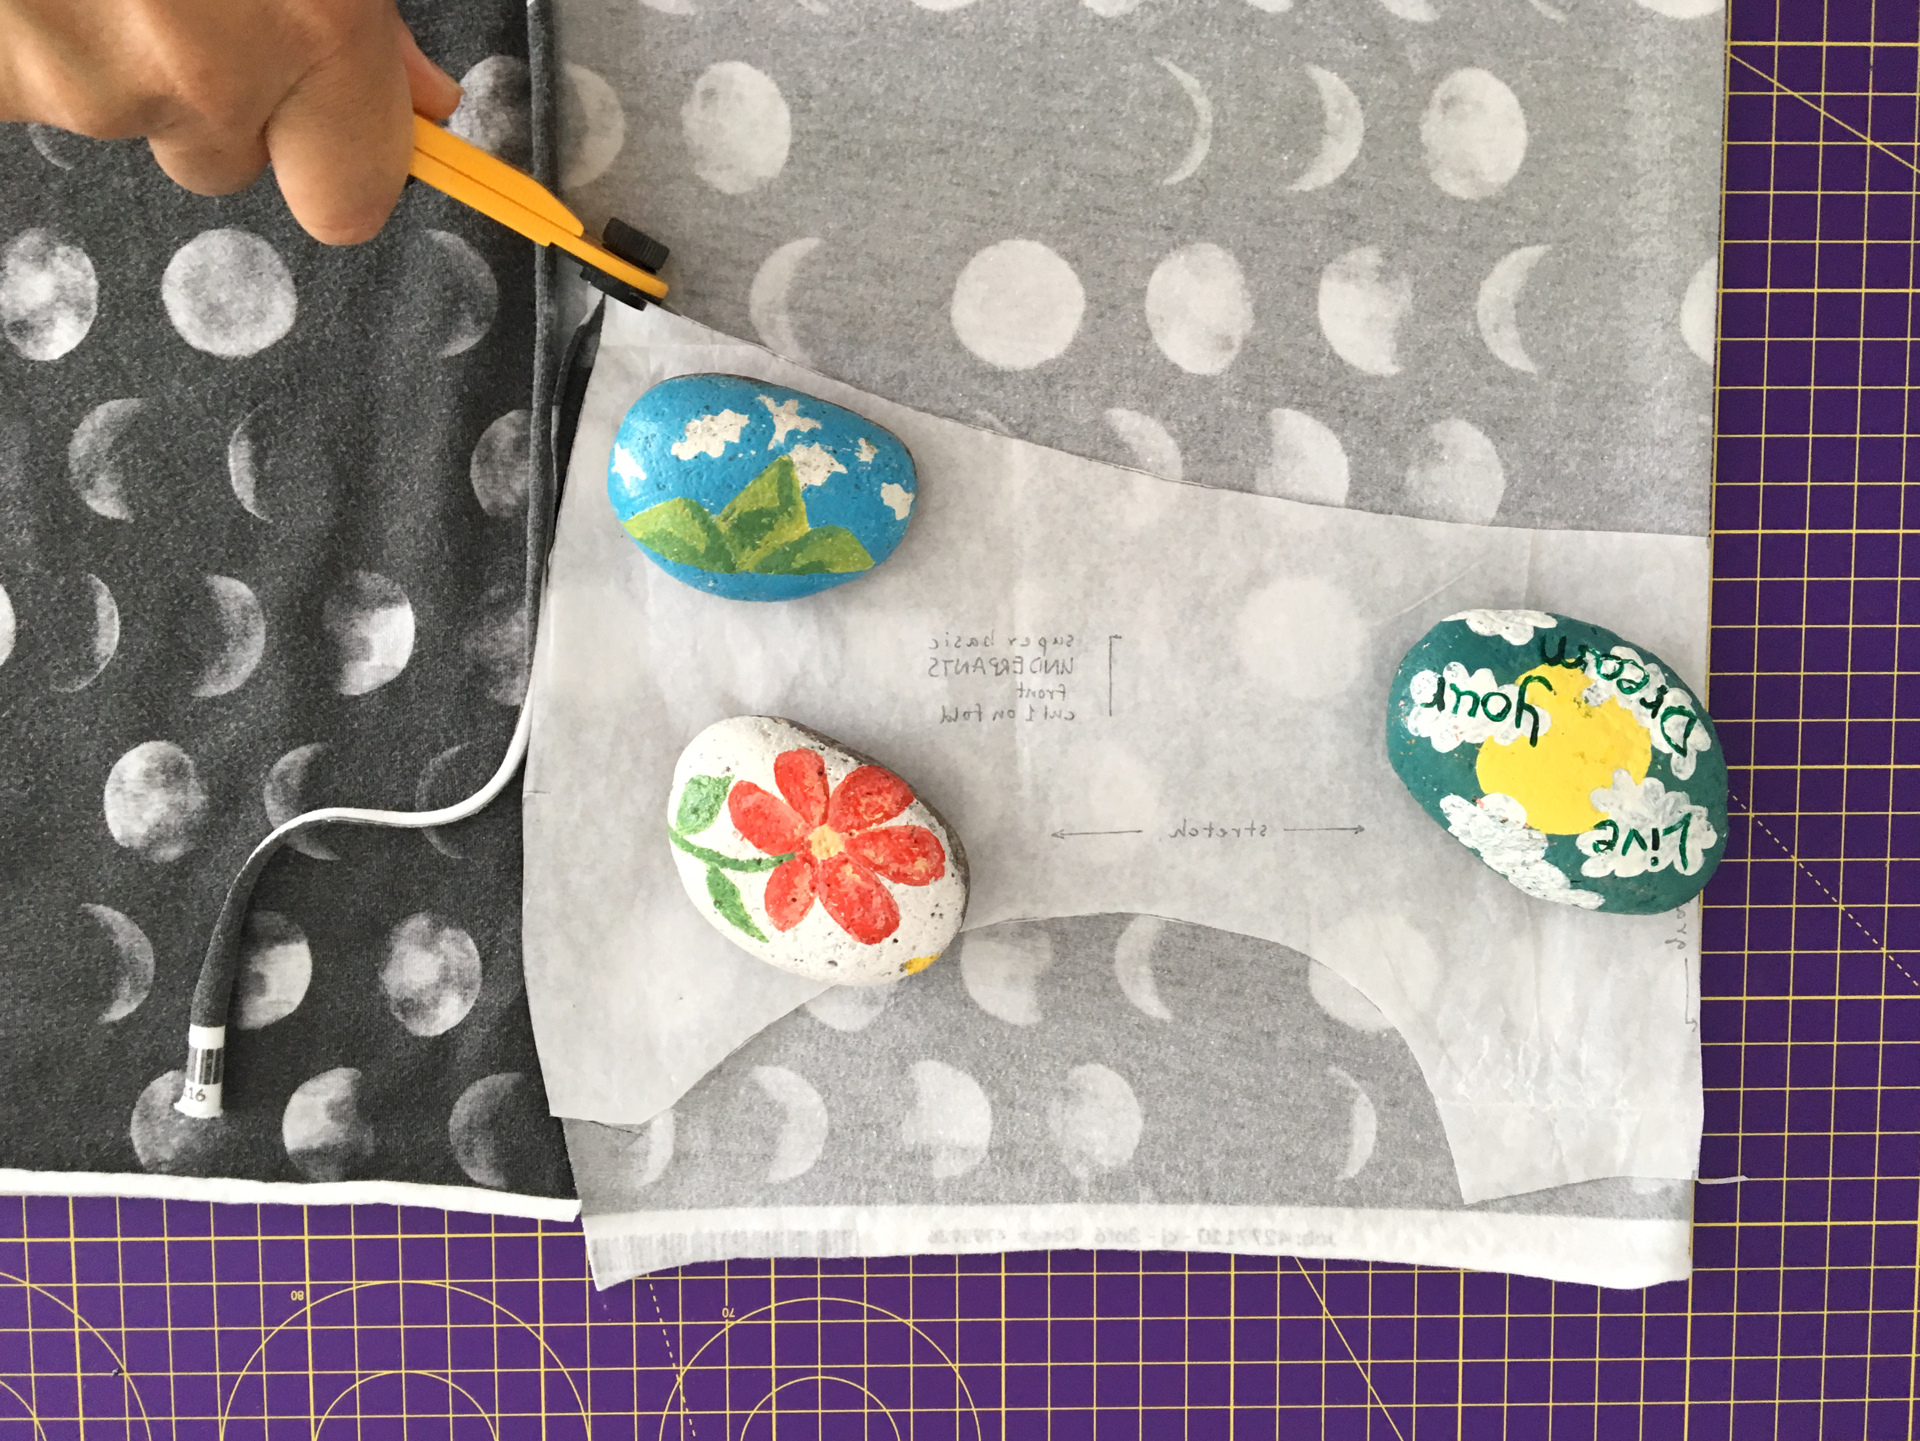
Step one: trace your blueprint and cut your cloth. Exist certain to make notches or markings where the pieces should come across up. You'll demand:
- ane forepart panty piece
- one back panty piece
- ii crotch pieces (1 outer, 1 lining)
1 of the crotch pieces is the crotch lining. Your underpants will fit best if you use fabric with a scrap of stretch (5% to 10% elastane or spandex). But, yous may desire to apply a 100% cotton fiber knit for the crotch lining piece.
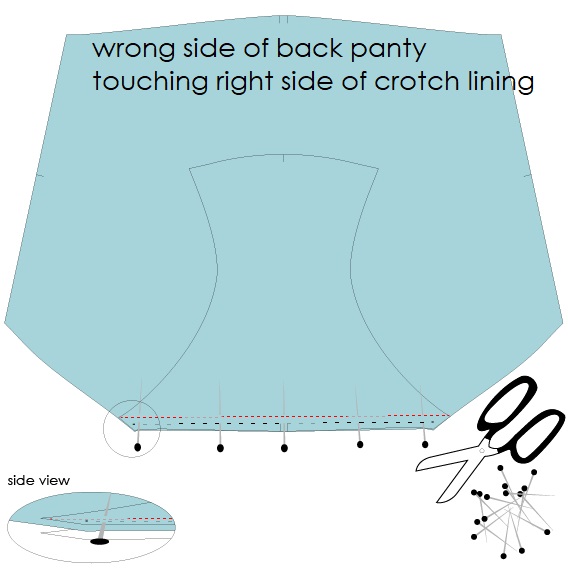
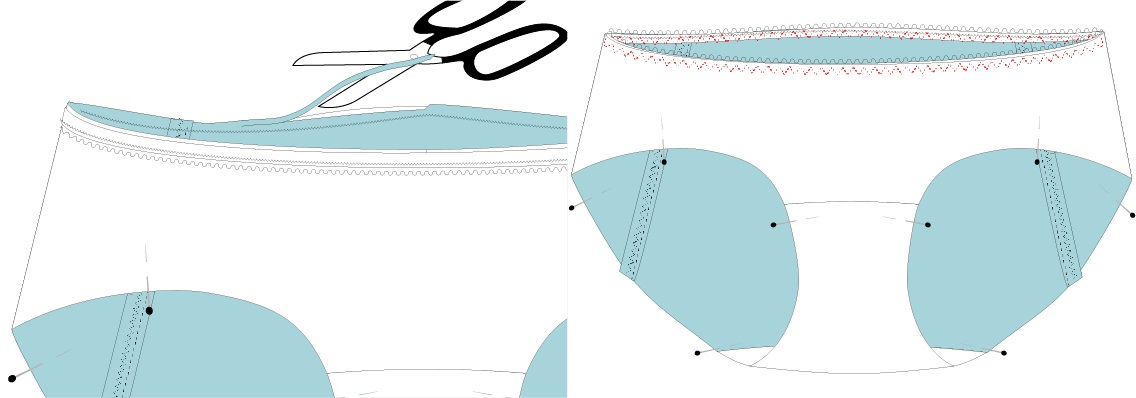
Step 2: Sandwich the lower edge of the back panty piece with the 2 crotch pieces and stretch stitch. Exist sure the outer crotch and back panty are correct sides together . The correct side of the crotch lining is touching the incorrect side of the back panty. (Annotation that, in the illustrations, turquoise is the "incorrect side" and white is the "correct side" of the material.)
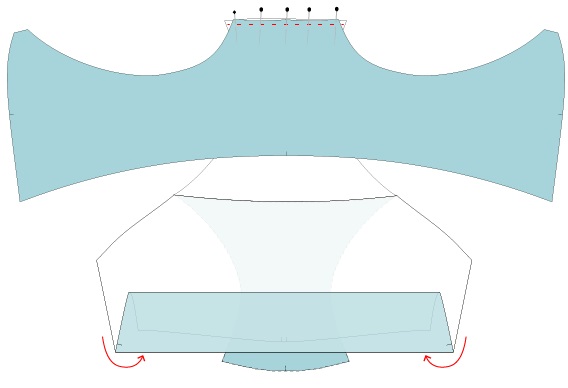
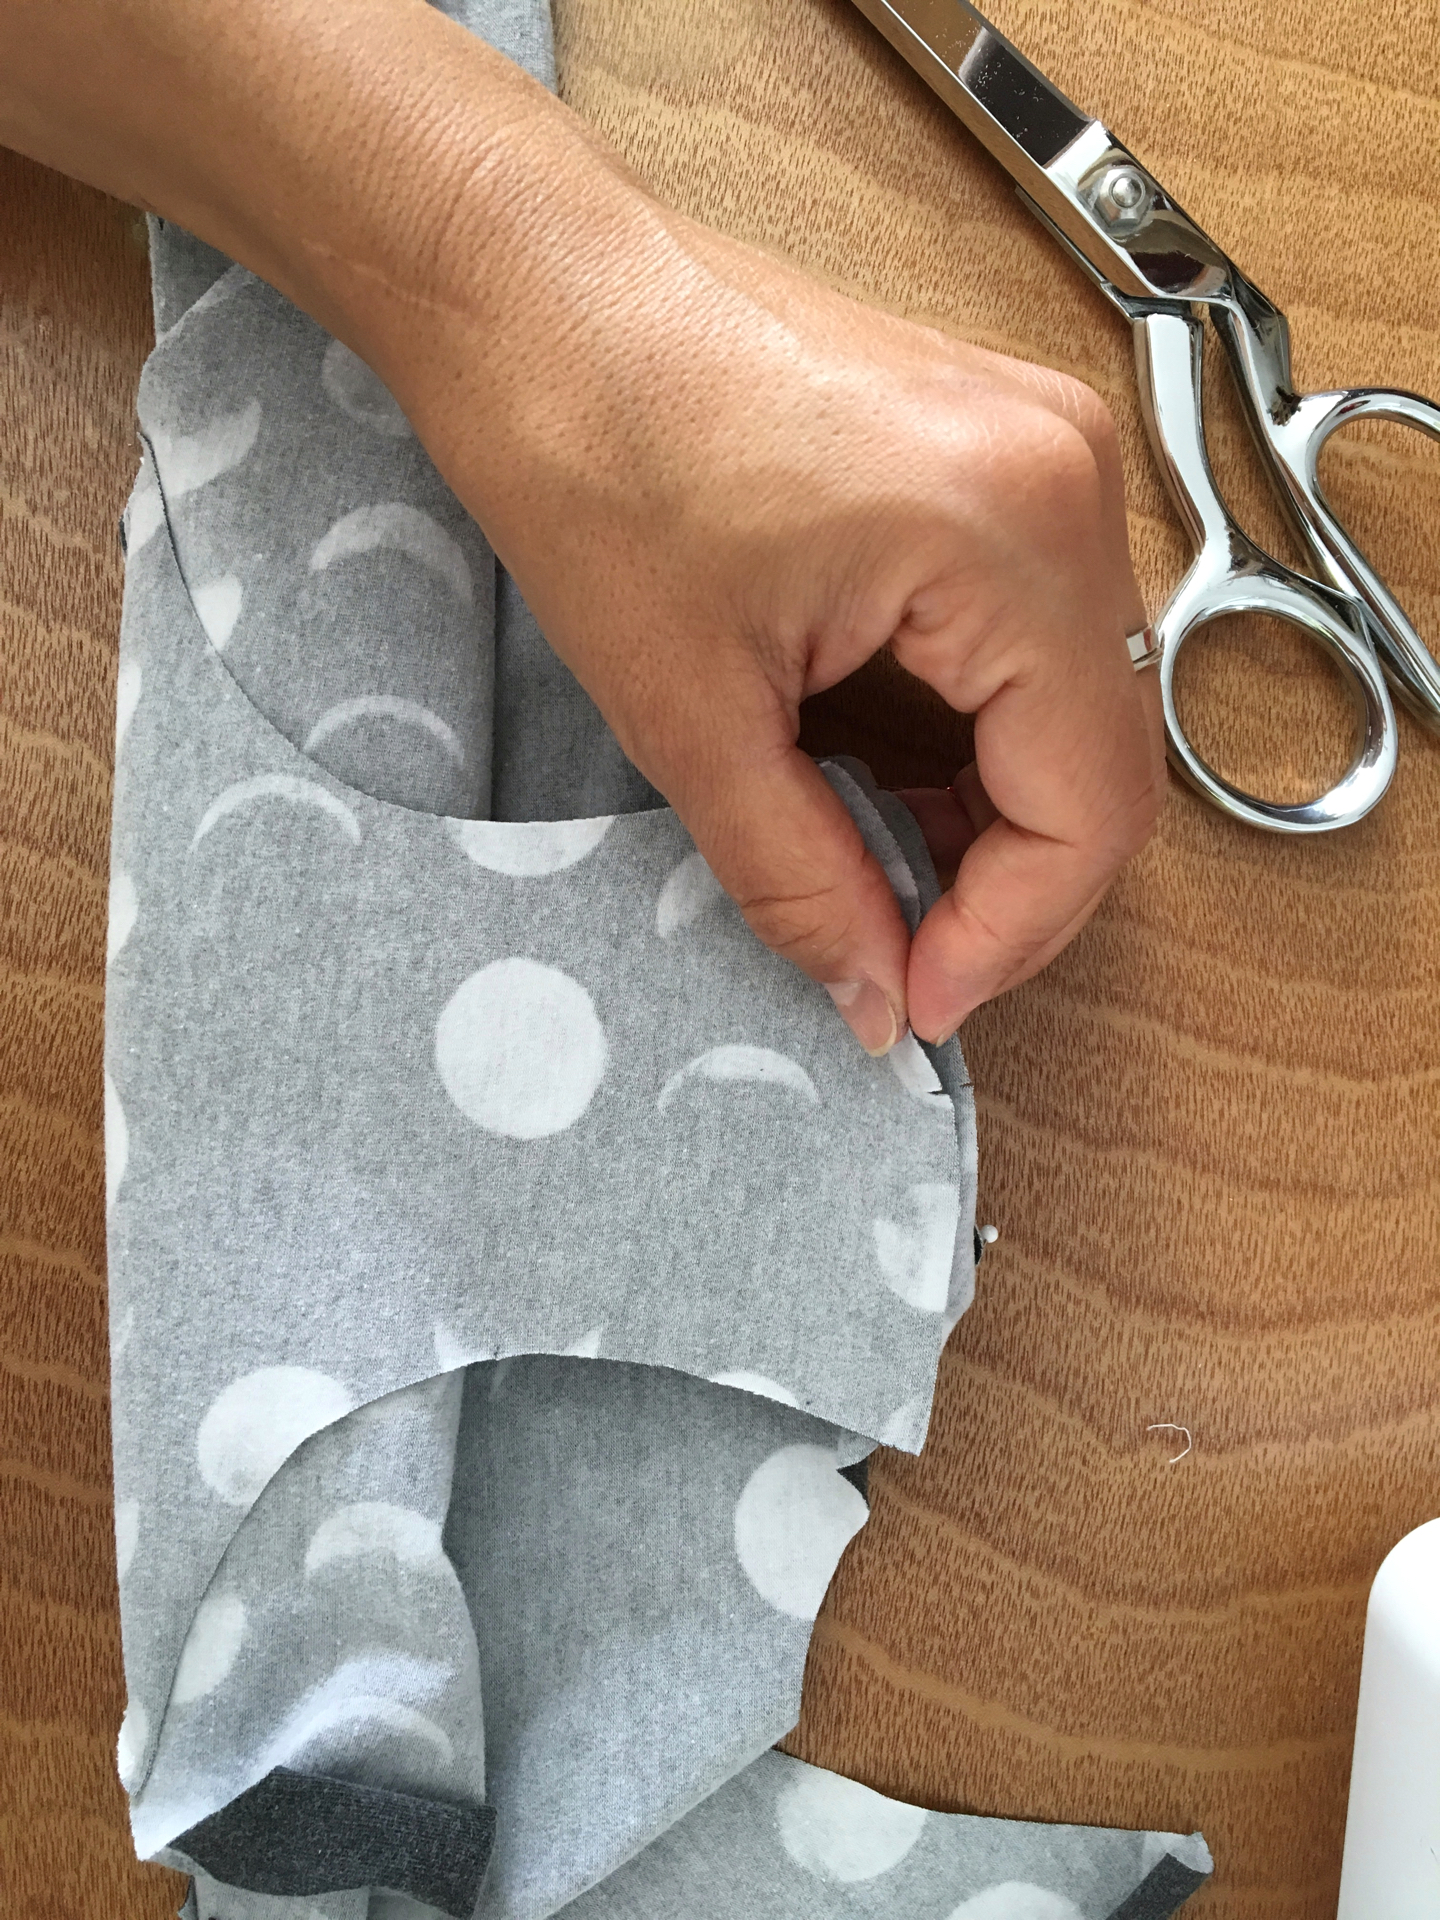
Step iii: Lay the back panty + crotch in forepart of you so the right side of the dorsum panty is facing up. And so lay the front panty right side down , lining upward the border where the front panty meets the outer crotch , and pin. Slowly and gently ringlet the back panty upwardly until you tin can wrap the panty lining around . This is chosen the burrito method! Pivot and stretch stitch the front panty to the crotch.
Stride four: Unfold your underpants and admire your hidden seams! And so, with correct sides of textile touching, stretch stitch the front panty to dorsum panty at the sides .
You've now got your base panty and y'all're ready to attach elastic!

Step v: When cutting elastic, a good rule of thumb is to utilise 10% less than the measurement of the opening. So, if you measure out the waist opening of your base underpants (when it'due south laying on the table, not when y'all're wearing it), and it measures, say, 32", you lot'll desire to reduce that by about three¼ "… and so add together some seam allowance dorsum to it. I'1000 working with picot rubberband here, just this is a full general rule for all elastics. Of course, personal preference and comfort should be taken into consideration too!
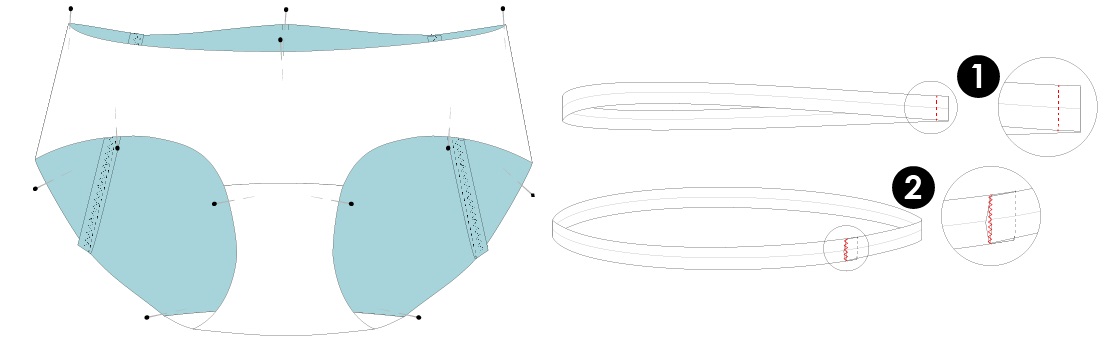
Step 6: I similar to sew together the short ends of my rubberband together first, then marking the quarters and attach it to my underpants. I besides like to stitch the elastic to my underpants twice – one laissez passer to attach, one pass to finish – which results in a nicer finish (in my humble opinion) as well as added security against popped stitches.
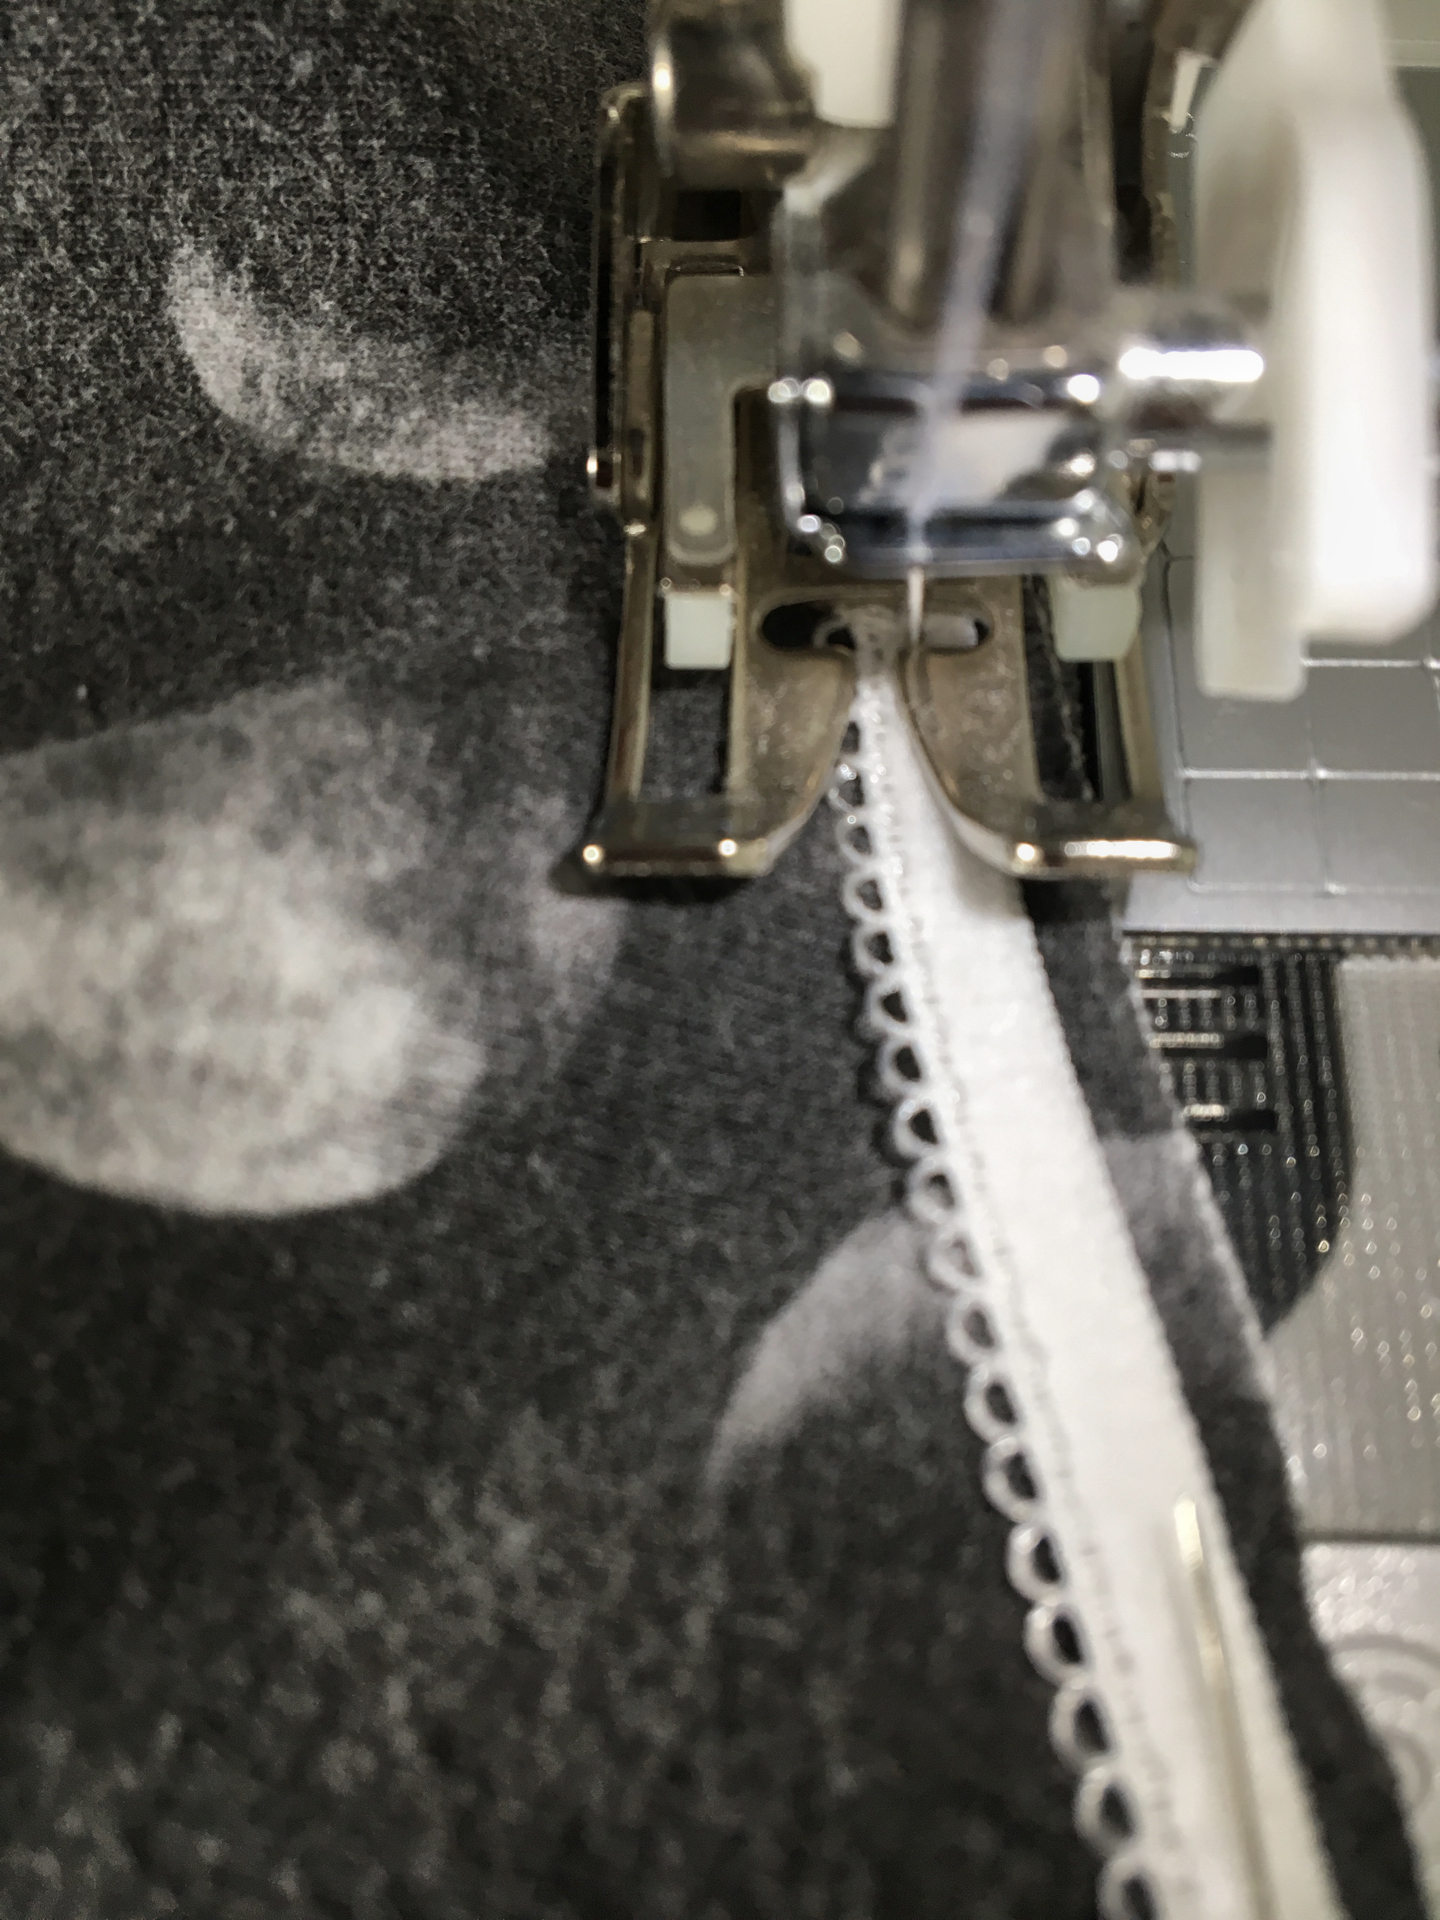
With picot, you'll align the elastic then that the right side of the elastic is touching the correct side of the fabric, and the decorative edge is pointing toward the panty. Sew around using a zig-zag stitch (1.5mm length, 3mm width) as close to the decorative border every bit possible.
Step 7: Trim the seam allowance – but non the elastic! – as close as possible to the stitch y'all simply set in step 6. Fold the elastic toward the inside of the panty and top stitch, using a 3-pace zig-zag, closer to the straight edge of the elastic.
Repeat steps 5, 6 and 7 for the legs, and you've got yourself a fabulous new pair of underpants!!
davisstivider1936.blogspot.com
Source: https://dearhandmadelife.com/diy-underpants/
0 Response to "How to Make Old Panties Cute Again"
Post a Comment